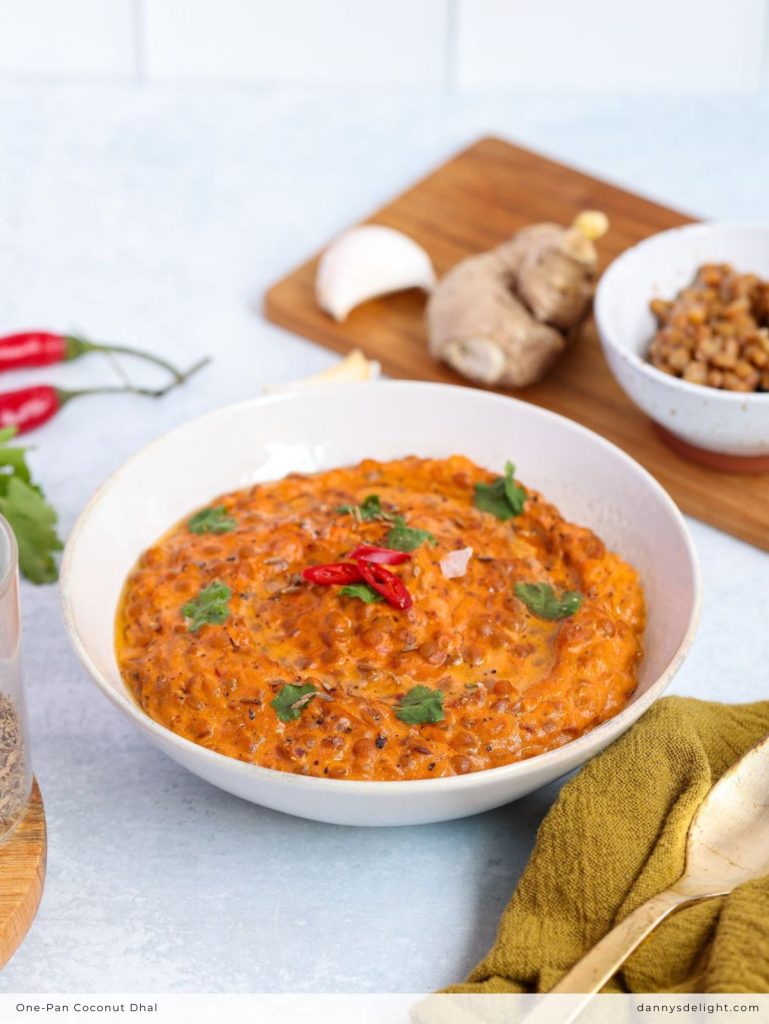
Some days I just want a meal that feels warm, comforting, and easy without turning my kitchen into a mess… and this One-Pan Coconut Dhal is exactly that. It’s creamy, full of flavor, and comes together with simple pantry ingredients I almost always have on hand. I love how it quietly simmers away while the whole kitchen starts smelling amazing, and before I know it, dinner is sorted with barely any effort.
→ Red Lentils (the heart of it all) - These little guys are what make the dish so hearty and filling. They soak up all that flavor like a sponge and give you that soft, comforting texture we all love.
→ Coconut Milk (aka the creamy magic) - This is where the richness comes from. It turns everything silky, slightly sweet, and super cozy. Honestly, this is what takes the dhal from basic to “wow, I want seconds.”
→ Onions (slow-cooked goodness) - Taking a few extra minutes to cook the onions properly makes a huge difference. They add a natural sweetness and depth that builds the base of the whole dish.
→ Garlic & Ginger (flavor boosters) - These two are small but mighty. They bring that warm, aromatic kick that makes your kitchen smell incredible while everything cooks.
→ Curry Paste (your shortcut to big flavor) - This is where all the bold, layered spice comes from without needing a dozen different spices. Super convenient and super effective.
→ Tomato Purée (a little tang goes a long way) - Just a small amount, but it balances the creaminess with a hint of acidity and helps round out the flavors.
→ Fresh Cilantro (the final fresh pop) - A sprinkle on top right before serving adds brightness and freshness that really lifts the whole dish.
NOTE: For measurements and rest of the ingredients check the recipe card below.
What You'll Need To Do
Serves: 4 Time: 35 mins
1| Start by heating your olive oil in a large, shallow pan over low heat. Toss in those sliced onions and let them do their thing slowly for about 10 minutes. You’re looking for soft, slightly golden, and smelling amazing.
2| Now add in the garlic and ginger. Give it a quick stir and let it cook for about 30 seconds, just until fragrant. Next goes the curry paste. Stir it in and let it cook for 2 to 3 minutes so all those bold flavors wake up properly.
3| Add the tomato purée and cook it out for about a minute. This step helps deepen the flavor, so don’t rush it.
4| Pour in the coconut milk along with 400 ml (about 14 fl oz) of water. Give everything a good mix and bring it to a gentle boil. Once it starts bubbling, lower the heat and let it simmer for about 10 minutes. This is where the magic happens and the sauce really comes together.
5| Now stir in your drained lentils. Mix well so they’re nicely coated in that creamy sauce. Let it simmer gently for another 5 to 10 minutes until everything is heated through and the dhal thickens slightly. Finish with a generous pinch of salt to taste.
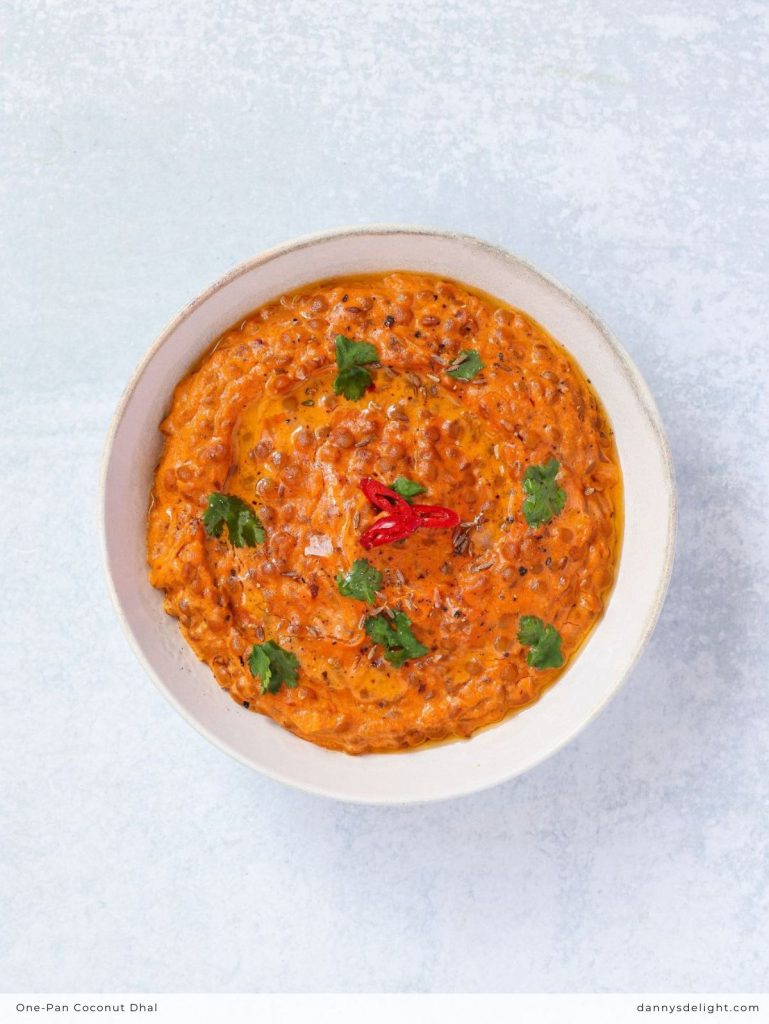
6| Serve it up hot and don’t forget a good handful of fresh cilantro on top for that final fresh pop.
Glycemic Index (GI): ~30–35 (low GI)
Glycemic Load (GL): ~8–10 (low GL)
Easy Ingredient Swaps
→ No red lentils? No problem - You can use yellow lentils (toor dal) or even split mung beans. The texture will be slightly different, but still delicious.
→ Fresh garlic & ginger shortcut - Short on time? Use store-bought ginger-garlic paste. It works great and saves a few minutes of prep.
→ Curry paste alternatives - Don’t have curry paste? Use curry powder instead. Start with 1 to 1.5 teaspoons and adjust to taste.
→ Lighten it up - Swap full-fat coconut milk with light coconut milk if you want a lighter version. It’ll still be creamy, just a bit less rich.
→ No coconut milk option - You can use cashew cream or even a splash of heavy cream (if not vegan). It changes the flavor slightly but keeps that creamy vibe.
→ Add some veggies - Toss in spinach, kale, carrots, or bell peppers. It’s a great way to bulk it up and add extra nutrition.
→ Spice level tweak - Like it spicy? Add chili flakes or a chopped green chili. Prefer mild? Go with a mild curry paste and you’re good.
→ No cilantro? - Swap with parsley or just skip it. The dish will still taste great.
→ Make it more filling - Serve it with quinoa instead of rice, or even add chickpeas for extra protein.
→ Oil swap - You can use coconut oil instead of olive oil for a slightly deeper coconut flavor.
→ Make it extra creamy - Stir in a spoon of peanut butter or almond butter at the end. Sounds different, but it adds a rich, nutty depth that works so well.
→ Add a protein boost - Toss in some chickpeas or tofu cubes along with the lentils to make it even more filling and satisfying.
→ Spinach it up - Stir in a handful of fresh spinach right at the end. It wilts quickly and adds a nice pop of color and nutrition.
→ Turn up the heat - Add chopped green chilies or a pinch of red chili flakes if you like a bit of spice.
→ Give it a smoky touch - Sprinkle in a little smoked paprika for a subtle smoky flavor that adds something extra.
→ Make it tangy - Finish with a squeeze of lime or lemon juice. It brightens everything up and balances the creaminess.
→ Roasted veggie upgrade - Add roasted sweet potatoes, cauliflower, or carrots on top for a hearty, slightly caramelized twist.
→ Coconut overload (in a good way) - Add a sprinkle of toasted coconut flakes before serving for extra texture and flavor.
→ Herb swap twist - Try fresh mint or basil instead of cilantro for a slightly different fresh finish.
→ Make it soupier or thicker - Prefer it like a soup? Add a little more water. Want it thick and scoopable? Let it simmer a bit longer.
→ Serve it differently - Turn it into a wrap filling, serve over quinoa, or even use it as a base for a grain bowl.
→ Take your time with the onions - Don’t rush this step. Letting the onions cook slowly until lightly golden builds a deeper, sweeter flavor base.
→ Cook the curry paste properly - Give it those 2 to 3 minutes in the pan. This helps release the oils and makes the flavors way more vibrant.
→ Keep the heat gentle - Once everything is simmering, avoid high heat. A gentle simmer keeps the coconut milk from splitting and helps the flavors blend nicely.
→ Adjust consistency to your liking - If it gets too thick, add a splash of water. Too thin? Let it simmer a bit longer uncovered.
→ Season at the end - Lentils soak up salt, so always taste and adjust seasoning after the dhal has finished cooking.
→ Don’t skip the rinse (if using canned lentils) - Rinsing removes excess starch and any canned taste, giving you a cleaner flavor.
→ Fresh is best for garnish - Add cilantro right before serving to keep it bright and fresh, not wilted.
→ Let it sit for a few minutes - The dhal thickens slightly as it rests, so giving it 5 minutes off the heat can improve the texture.
→ Taste as you go - A quick taste check before serving helps you tweak salt, spice, or tang exactly how you like it.
→ Double it for later - This recipe stores really well, so making a bigger batch is always a smart move 👍
→ Go for dried lentils instead of canned - Dried red lentils are way cheaper and cook quickly. Just boil them separately and you’ll save a good chunk of money.
→ Buy store-brand basics - Coconut milk, tomato purée, and curry paste are all cheaper in generic/store brands, and honestly, they work just as well.
→ Use what you already have - Don’t stress if you’re missing one ingredient. This recipe is flexible, so swap in what’s in your pantry instead of buying something new.
→ Skip pre-cut ingredients - Whole onions, garlic, and ginger are much cheaper than pre-chopped versions and stay fresh longer too.
→ Stretch it with extra lentils or veggies - Add more lentils, or toss in budget veggies like carrots or potatoes to make it go further without increasing cost much.
→ Use frozen herbs instead of fresh - If fresh cilantro feels pricey, frozen herbs or even dried options can still add a nice touch.
→ Make it a meal with rice - Serving this with rice is one of the cheapest ways to turn it into a super filling meal for more people.
→ Buy in bulk when you can - Pantry staples like lentils, spices, and rice are much cheaper when bought in larger quantities.
→ Stretch leftovers creatively - Use leftovers as a wrap filling, mix with rice for a quick bowl, or thin it into a soup to get another meal out of it.
→ Cook once, eat twice - Double the batch while you’re at it. It barely costs more but saves you time and money later.
Let it cool first - Before storing, allow the dhal to cool to room temperature. This helps keep the texture right and avoids excess moisture buildup.
Refrigerate the right way - Transfer to an airtight container and store in the fridge for up to 3 to 4 days. It actually tastes even better the next day as the flavors deepen.
Freezer-friendly meal - This dhal freezes really well. Store in freezer-safe containers for up to 2 to 3 months. Portion it out so you can thaw only what you need.
Thawing made easy - Move frozen dhal to the fridge overnight, or use the microwave defrost setting if you’re short on time.
Reheat on the stovetop - Warm it gently over low to medium heat, stirring occasionally. Add a splash of water or coconut milk to loosen it up as it thickens over time.
Microwave option - Heat in short intervals, stirring in between to ensure even heating. Again, add a little water if needed to adjust consistency.
Don’t overheat - Keep the heat moderate to prevent the coconut milk from separating and to maintain that creamy texture.
Freshen it up before serving - Add a sprinkle of fresh cilantro or a squeeze of lime after reheating to bring back that fresh, vibrant flavor.
This is one of those recipes I keep coming back to when I want something reliable, budget-friendly, and genuinely satisfying. It’s simple, flexible, and always hits the spot whether I’m cooking for myself or feeding the family. Give it a try, tweak it your way, and don’t be surprised if it becomes a regular in your weekly rotation 👍.
I love how easy this one-pan coconut dhal is 😍 Creamy, cozy, and packed with flavor, it’s ready in 35 minutes and perfect for a quick, budget-friendly dinner 🥥🍲
Ingredients
10.6oz cooked red lentils (jarred or canned), drained and rinsed (300g)
2 onions, finely sliced
4 cloves garlic, finely chopped
1 thumb-sized piece fresh ginger, finely chopped
2tbsp curry paste ((mild or medium, depending on preference))
1tbsp tomato purée
14fl oz canned coconut milk (400ml)
fresh cilantro, to serve
Instructions
1
Heat 2 tablespoons of olive oil in a large, shallow pan over low heat. Add the sliced onions and cook for approximately 10 minutes, stirring occasionally, until softened and lightly browned.
2
Add the chopped garlic and ginger, and cook for about 30 seconds until fragrant. Stir in the curry paste and cook for 2 to 3 minutes to allow the flavors to develop.
3
Incorporate the tomato purée and cook for an additional 1 minute, stirring well.
4
Pour in the coconut milk along with 400 ml (14 fl oz) of water. Stir to combine and bring the mixture to a boil. Once boiling, reduce the heat and allow it to simmer for 10 minutes to develop the sauce.
5
Add the drained lentils and mix thoroughly to coat them in the sauce. Continue to simmer gently for 5 to 10 minutes, until the lentils are heated through and the dhal has thickened slightly. Season with salt to taste.
6
Serve hot, garnished with fresh cilantro.
Nutrition Facts
Servings 4
Amount Per Serving
Calories270kcal
% Daily Value *
Total Fat18g28%
Total Carbohydrate20g7%
Protein7g15%
* Percent Daily Values are based on a 2,000 calorie diet. Your daily value may be higher or lower depending on your calorie needs.
Keywords:
one pan coconut dhal, coconut lentil curry, easy red lentil dhal, creamy coconut dhal recipe, vegan dhal recipe, quick lentil curry recipe, Indian style dhal recipe, one pot lentil curry, healthy vegan dinner recipe, budget friendly vegan meals, easy weeknight lentil recipes, plant based curry recipe, coconut milk lentil curry, simple dhal recipe, 30 minute vegan dinner, easy Indian curry for beginners, lentil curry with coconut milk, vegetarian curry recipe easy, one pot vegan meals, comfort food vegan recipes
Did you like this recipe?
Pin this recipe and share it with your followers.
Danny Davis
A Food Blogger
Hi, I'm Danny, the food lover and creator of this recipe blog. I aim to spark your culinary creativity with approachable recipes for all skill levels. Come join me in exploring delicious flavors and making memorable dishes together in my kitchen!

 Serve hot, garnished with fresh cilantro.


